
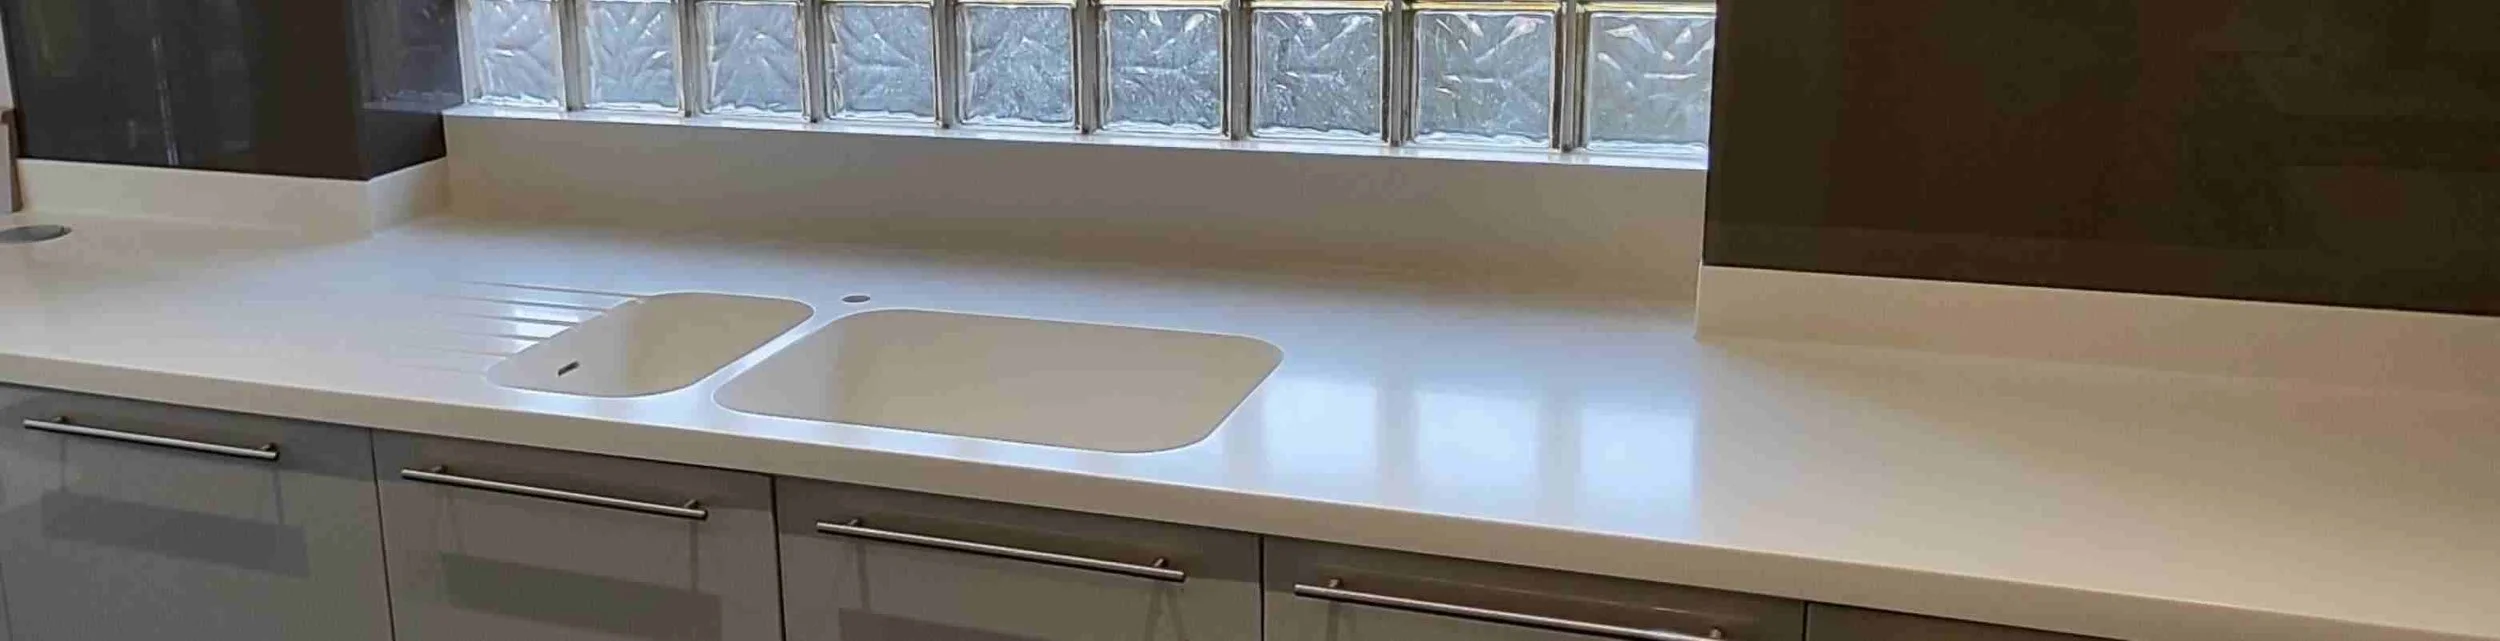
Laminate Worktop Burn Repair
Scorch and Heat Damage Repair for Laminate Worktops Across Surrey, Hampshire & Berkshire
A pan lifted straight from the hob, a hot baking tray set down without a trivet, a heat gun held too close during another job — any of these will scorch a laminate worktop in seconds. The decorative layer blisters, discolours, or lifts clean away from the chipboard core beneath it. Most homeowners assume that once laminate has burned, the only fix is to replace the whole run. In the majority of cases, that isn't true.
Laminate burn repair is one of the most detailed jobs we carry out. It isn't a case of filling a hole — it's rebuilding a section of worktop from the substrate up, then hand-replicating the pattern so the repair disappears into the surrounding surface. Done properly, with the right fillers and the patience to match the grain or fleck by eye, the result is a repair you won't find again once it's finished. Done badly, it looks exactly like what it is — a patch.
With 20 years of specialist worktop repair experience across Surrey, Hampshire, and Berkshire, we carry out laminate burn repair on-site, without removing or replacing the worktop.
Why Laminate Burns the Way It Does
Laminate worktops are built from a decorative paper layer, saturated with resin, bonded under heat and pressure to a chipboard or MDF core, and finished with a clear protective wear layer. Sustained heat — a hot pan base, a baking tray, direct contact with a heat source — exceeds the tolerance of that resin bond long before it affects the chipboard underneath.
What you see depends on how hot the contact was and how long it sat there. Brief, high-heat contact tends to carbonise the decorative paper, leaving a dark scorch or ring mark. Sustained contact causes the resin bond between the decorative layer and the substrate to break down, and the laminate lifts away from the core in a blister. In the most severe cases, the clear wear layer itself melts and cracks, exposing the raw chipboard beneath — which is the point at which moisture ingress and further deterioration become a real risk if the area isn't repaired.
None of these are reasons to replace the worktop. All three are repairable using the same core process, adjusted for depth and severity.
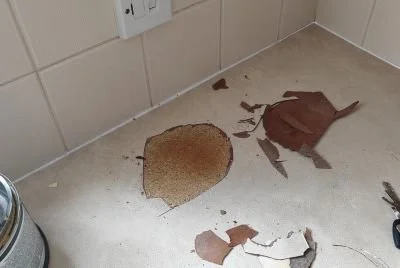
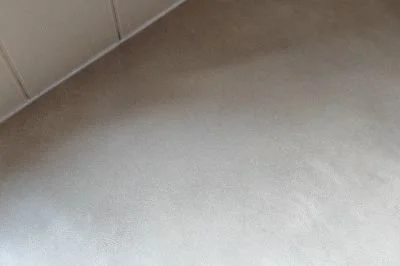
Understanding the Burn Damage — Why the Approach Varies
Not every burn needs the same amount of work. A light surface scorch that hasn't broken the wear layer is a different job to a blister that has fully detached from the core, and a different job again to a burn that has exposed bare chipboard. We assess the depth of the damage before deciding how much material needs to come out and how much rebuilding is required — over-excavating a light scorch wastes time and risks a larger visible repair than necessary; under-preparing a deep burn leaves a weak repair that won't hold.
Our Burn Repair Process
Stage 1: Assessment & Excavation
We start by establishing how far the damage runs beneath the surface. Carbonised or bubbled laminate is cut back and removed with a sharp blade until we reach sound material — the point where the decorative layer is still fully bonded to the substrate. Where a blister has formed, this means slicing away the raised, hollow section entirely rather than trying to reseat it; a detached blister will never re-bond flat, and any filler applied over it will fail. If the chipboard core itself has scorched or dried out, that material is excavated back to solid, stable substrate as well.
Stage 2: Substrate Preparation & Priming
Once the damaged material is fully excavated, we check the exposed chipboard or MDF is sound and dry before filling. Chipboard and MDF are not structurally strong materials in their own right — they rely on the bond between the wood chips or fibres to hold together, and that bond is exactly what heat damage compromises. Rather than filling directly onto bare, heat-affected substrate, we apply a primer to the exposed core first. This gives the filler a proper key to bond to, rather than bonding to loose or friable wood chips that could break away under the repair later. Skipping this step is the difference between a repair that holds long-term and one that fails from the inside, regardless of how well the surface finish looks on the day.
Stage 3: Bulk Filling & Profile Levelling
Where the burn has removed significant depth or volume — a bubbled section, or a deep carbonised void — we rebuild the missing structure using Easy 8 and Top Stop Gold fillers, applied in controlled layers and allowed to cure between applications. This is a structural fill, not a cosmetic one; it re-establishes the correct thickness and profile of the worktop before any colour or pattern work begins.
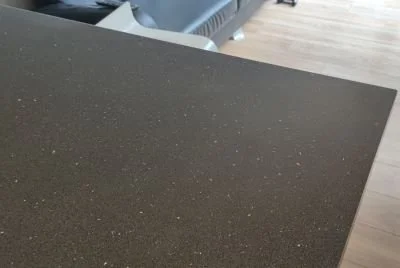
Once cured, the filled area is sanded back to match the exact factory profile of the worktop — flat, flush, and square with the surrounding surface, with no proud edges or recessed lows.
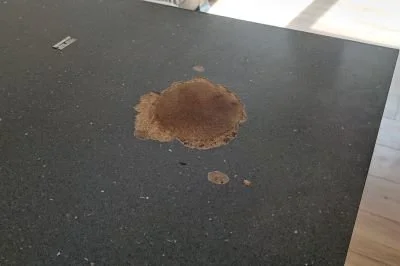
Stage 4: Colour-Matched Top Layer
With the structural profile correct, we apply Tenax Vinyl Ester resin as the final, visible top layer — colour-matched on-site to the base tone of your worktop. This is the layer the pattern work sits on top of, and getting the base colour right here is what makes the detailing convincing rather than obvious.
Stage 5: Pattern Detailing
Using fine detail brushes and solvent-based acrylic enamel paints mixed by eye, we hand-replicate the flecks, grain, or stone pattern of your worktop directly onto the repair zone. This is the slowest and most skilled stage of the process — every laminate pattern is different, and there's no template for it. Between coats, we carry out a light sand at 240 grit to denib the surface and remove any raised brush marks without disturbing the artwork underneath. We never use anything coarser than 240 grit at this stage — heavier grits will cut straight through hand-applied detail work.
Stage 6: Sheen Matching & Feathering
Once the pattern work matches the surrounding surface, we apply a final protective topcoat and calibrate the sheen level to match your worktop exactly — matt, satin, or gloss. The outer edge of the repair is feathered into the surrounding laminate so there's no visible boundary line under normal kitchen lighting.
An Honest Note on Results
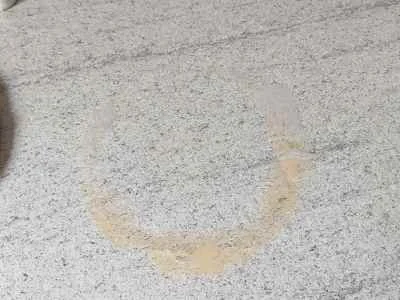
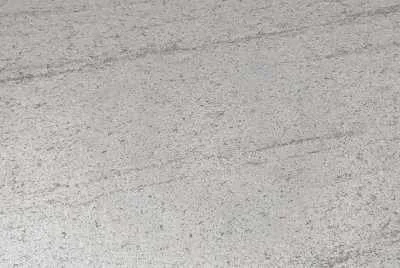
Laminate burn repair is a hand-finished process, not a factory reproduction. On plain, solid-colour laminates, the result is genuinely very close to invisible. On busy, heavily patterned laminates — particularly stone-effect or woodgrain finishes with fine, irregular detail — the pattern is hand-replicated by eye, and while it blends convincingly under normal kitchen lighting, it is a skilled recreation rather than a machine-printed match.
Where a burn has exposed bare chipboard for a prolonged period and moisture has already reached the core, the substrate may be too compromised in that localised area to give a fully reliable repair, and we will tell you honestly if that's the case before starting any work. In the vast majority of burns we see, none of this applies — the damage is contained enough that a full rebuild and hand-matched finish is entirely achievable, and that's what we deliver.
We do not carry out repairs we don't believe will hold, and we will always give you our honest assessment before any work begins.
Frequently Asked Questions
Does a burn mean I need a new worktop?
Almost never. Even where the wear layer has melted and the chipboard beneath is exposed, the damaged material can be excavated back to sound substrate and rebuilt in layers. Full replacement is really only necessary where heat damage is extensive across a large area of the run, rather than a single localised burn.
Will the repair be a different colour to the rest of the worktop?
No — the top layer is colour-matched on-site using Tenax Vinyl Ester resin, and any pattern or grain detail is hand-painted to match using solvent-based acrylic enamels. We match the base tone and the pattern before we consider the job finished.
Can you repair a burn that's gone right through to the chipboard?
Yes, provided the substrate itself is dry and structurally sound once the damaged material is cut back. We prime the exposed core before filling to give the repair a proper bond. If moisture has already caused the chipboard to break down over a wider area than the visible burn, we'll explain that during assessment.
How long does a burn repair take?
Most burn repairs are completed in a single visit, though the bulk filler needs time to cure between layers before the top colour and pattern work can begin. Larger or deeper burns involving more filler layers may need longer on-site or a short return visit. We'll give you a clear timeframe once we've assessed the damage.
Will the repaired area be as heat-resistant as the rest of the worktop?
The rebuilt area is structurally sound and finished to match the surrounding surface, but the same rule applies here as to the rest of your worktop — laminate is not designed for direct contact with hot pans or bakeware anywhere on the surface. Always use a trivet, on the repaired area or otherwise.
Do you cover my area?
We cover Surrey, Hampshire, and Berkshire from our base in Ash on the Surrey and Hampshire border. Call us on 01252 961927 to confirm coverage for your location.
Aftercare: Protecting Your Repaired Laminate Worktop
What to do:
Clean with a mild washing-up liquid solution and a soft cloth. Wipe up spills promptly, particularly around the repaired area while the topcoat continues to fully harden. Always use a trivet or heatproof mat for pans, dishes, and bakeware straight from the oven or hob.
What to avoid:
Never place hot pans, baking trays, or heat guns directly onto the surface — this is what caused the original damage and will damage a repaired area just as readily as untouched laminate. Avoid abrasive scouring pads, wire wool, and strong bleach-based cleaners such as undiluted sodium hypochlorite, which can dull the topcoat sheen over time. Avoid resting hot appliances, such as slow cookers or air fryers, directly on the surface even briefly.
Need Your Laminate Worktop Assessed?
If your laminate worktop has a scorch mark, a heat blister, or a burn that's exposed the chipboard beneath, call us before you accept a replacement quote. In the vast majority of cases we can rebuild and hand-match the damaged section on-site, across Surrey, Hampshire, and Berkshire, for a fraction of the cost of a new worktop.
→ For chips and impact damage on laminate worktops, see our [Chipped Laminate Worktop Repair] page
→ For staining and discolouration on laminate worktops, see our [Laminate Worktop Stain Repair] page
→ For swelling and water damage around sinks and edges, see our [Water-Damaged Laminate Worktop Repair] page
→ For Burn marks on laminate worktops, see our [Laminate Worktop Burn Repair] page
→ For a full overview of our laminate services, return to the [Laminate Worktop Repair Services] page
→ View our full range of worktop repair services on the [Surrey Worktop Repair] hub